Coolify
Guide to deploy LogChimp on Coolify
There are many ways to install LogChimp. Deploy LogChimp on Coolify — a self-hosted platform that lets you run applications using Docker on your own infrastructure.
With Coolify, you can deploy LogChimp on your own VPS or server while still enjoying a simple UI for managing deployments, environment variables, and databases.
Requirements
Before starting, make sure you have a server running with Coolify installed.
1. Download the required deployment files
coolify-compose.yml – Defines LogChimp's services and dependencies.
curl -L -o coolify-compose.yml \
https://raw.githubusercontent.com/logchimp/logchimp/refs/tags/<logchimp-version>/docker/community/docker-compose.yml
Warning
The <logchimp-version> value should be v0.8.0 or higher.
2. Create a new resource in Coolify
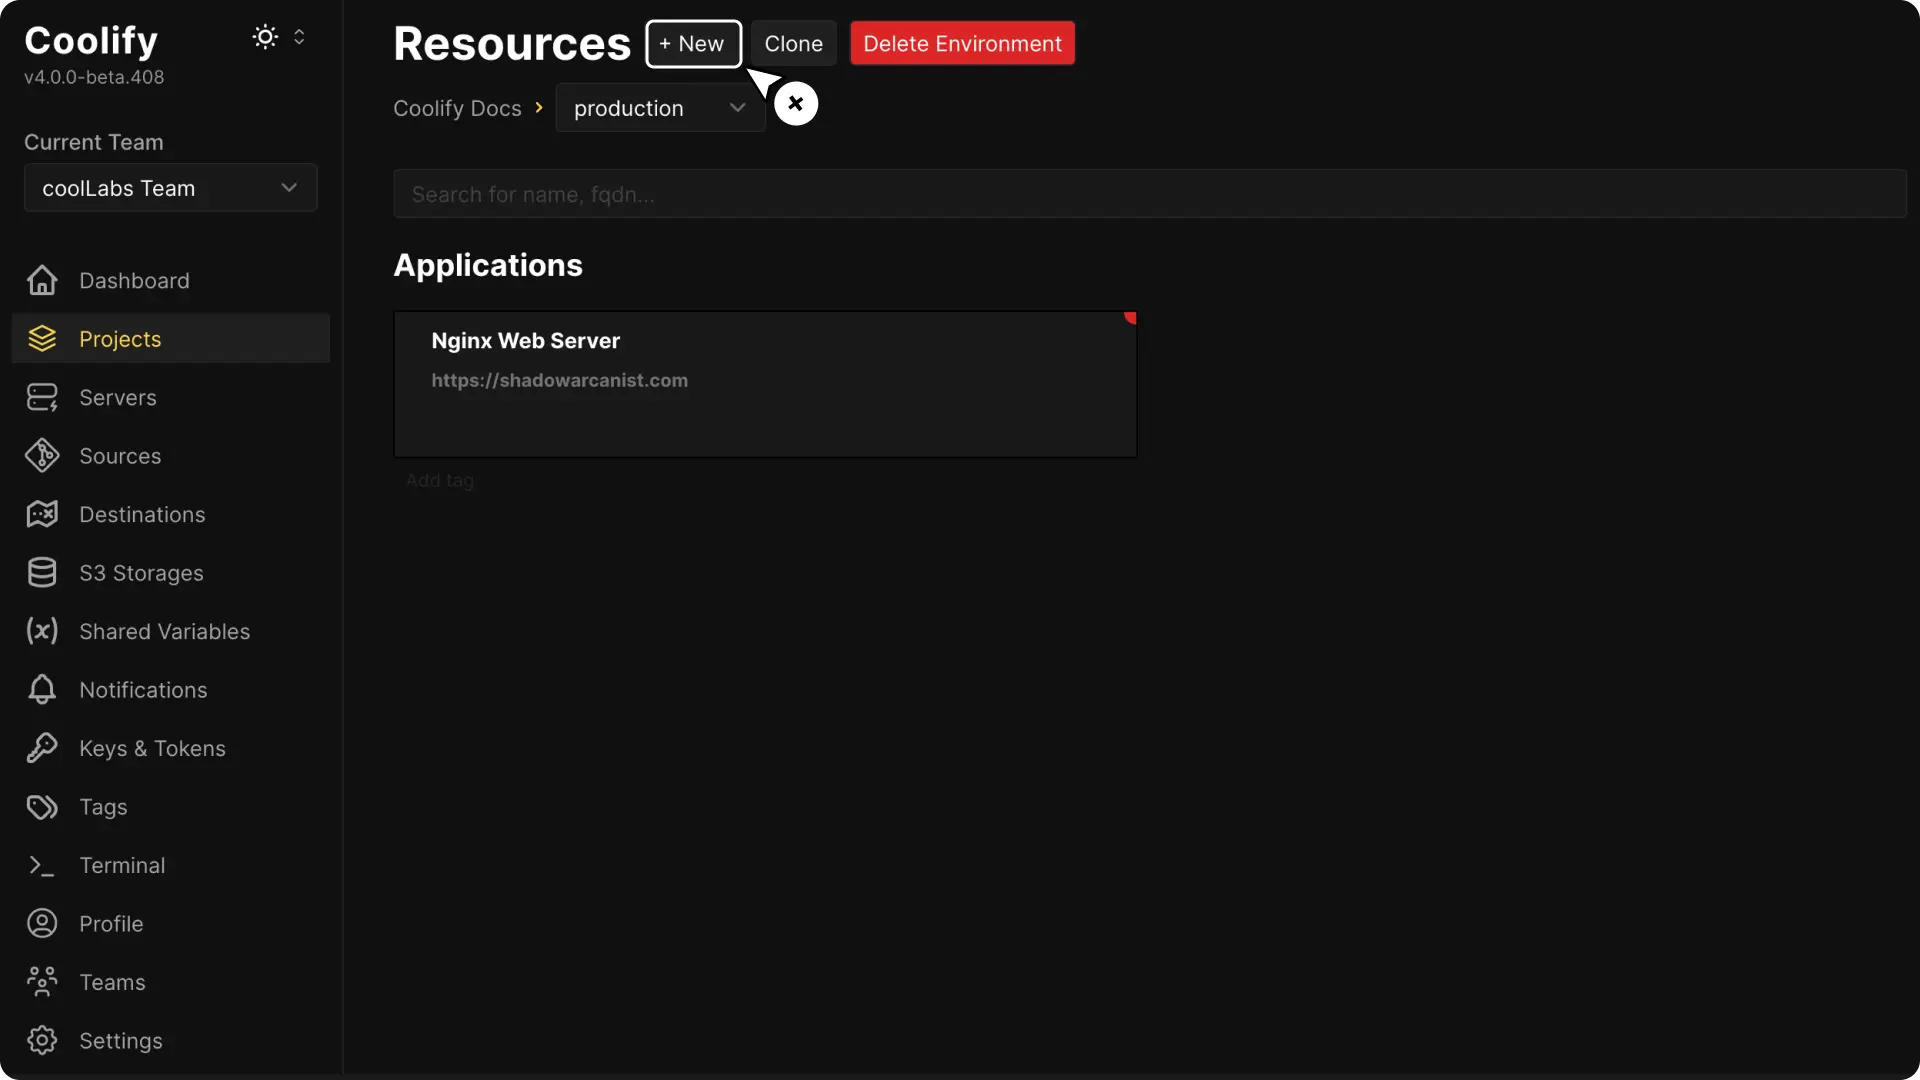
Create a new project or deploy LogChimp into your existing project.
Add a new resource to your project.
3. Deployment method
Select Docker Compose Empty as the deployment method.
Copy and paste the contents of the coolify-compose.yml file into the editor.
4. Configure services
Configure PostgreSQL database, Redis, and any other required environment variables in the UI.
You can refer to Environment Variables page to see full list of variables along with its description and default values.
5. Click deploy
Deploy to launch your LogChimp instance.
Once the deployment is complete, your LogChimp instance should be accessible on the configured domain.
6. More features?
Unlock the full potential of LogChimp with features like Boards, and Roadmaps.
Activate your license key to unlock premium features.
Some of the screenshots used in this page are referenced from Coolify Docs.
Next Steps
Congrats on successfully installing LogChimp.
Phew! That was a lot of work! Let's move to next step.